Horse
10 Top Tips to Spring Clean Horse Stables
You should clean horse stalls daily already, but it’s a great idea to have a full spring clean at least once a year. Unclean stalls attract pests and could result in problems such as thrush. Your horse will thank you for the more comfortable living!
What You’ll Need to Clean Horse Stables
- A strong wheelbarrow
- Pitchfork
- Shavings fork
- Shovel
- Buckets
- Hose or Pressure washer
- Broom
- Gloves
- Rubber/Work Boots
- Replacement Bedding
- Disinfectant
- Rubber Matting (Optional)
1. Dress Appropriately
Make sure that you’re wearing the best clothes for the job at hand, you’re about to get very dirty! An essential is gloves (which can prevent blisters from all the hard work you’re doing). It’s also a great idea to wear specific work/rubber boots and not your riding boots for doing this job, as the urine can affect the stitching on them. Cheap riding gloves with small sticky spots on them are great for handling tools and bags without slipping. Finally, tie back any loose hair and wear your scruffs, it’s going to get messy!
2. Prepare Your Tools
Everything should be on hand or nearby as soon as you need it. When parking the wheelbarrow close to the door, make sure that it’s facing the direction you want to go with it. It’s a lot more trouble to turn it around when it’s full. It might be a good idea to get a tool hanger, which is relatively expensive. These act as somewhere to store the tools rather than tripping over them as you work.
3. Clear the Area
You’ll need to remove EVERYTHING from the area. All bedding, rubber matting, feed buckets, and more. At this point, it’s a great idea to check whether things need replacing or just a good clean will do. If you have solid stable matting, for example, a good scrub will make them look like new. However, it may be less hassle just to buy some fresh ones. Remember to check feed buckets etc. for any cracks or damage, as these will need to be replaced or risk harming your horse.
4. Try a Pressure Washer
These are quite expensive to come by but will make your job so much easier, so try and borrow one if you can. They’ll be able to get into every single nook and cranny of the stable and leave no dirt behind. A perfect foundation for then laying down the disinfectant, and even cleaning up after it.
5. Don’t Forget the Roof, Walls, Fittings & Windows
It’s easy to forget about some of the areas you may not usually pay attention to. The room should have plenty of cobwebs by now, so remove these with a broom. You’ll be surprised how much dust you pick up along the way. Now is a perfect chance to give the windows a good clean too, so your horse has a great view to enjoy!
6. Disinfect the Area
You’ll want to completely remove all the bedding, use a shovel or scrape up any old remnants and sweep up using a broom. Once bare, clean with a good disinfectant like Stalosan F, Fam 30, or Jeyes Fluid. These will get rid of any underlying nasties like coccidiosis and worms. Make sure that the disinfectant has been rinsed away and the floor is dry before you add any bedding on top of it.
7. Lay Down New Rubber Matting
A lot of people swear by rubber matting. Horses will always need bedding, but putting down rubber matting first means that you’ll need to put less bedding down in total, making it a more economical choice over time. Rubber matting is also a lot easier to clean than the bumpy concrete that may be below it.
8. Replace with Good Quality Bedding
Some bedding is a real chore to muck out, and others are a lot easier to work with. Megazorb is extremely absorbent bedding that’s manufactured from wood pulp, which is a by-product of the paper-making industry. It will dramatically reduce the time it takes to muck out. Due to its high absorbency, you’ll only have to replace small parts of the bedding. If you’d like to know more about it, you can read our previous blog post ‘Product Focus – Megazorb Animal Bedding‘. Some other popular alternatives include Easibed and Comfybed.
9. Add a Lick of Wood Preservative
Your stable doors may have taken a beating this Winter. Now that the weather is improving, take the opportunity and apply some wood preservative to help protect it better in the months ahead. Be careful about what kind you buy however, animal-friendly ones can be expensive. Otherwise, use standard products and allow a good time frame for it to dry and set. Your horse should be kept away during this time.
10. Put Everything Back
Once you’re sure everything is as clean as can be and there’s no smell of ammonia around, replace what you removed from the stable. At this point, you can also re-introduce your horse back to their home. Hopefully, they’re polite and keep it up to standard for a while!
What products do you swear by to clean horse stables? Let us know in the comments below!
Related posts
Horse
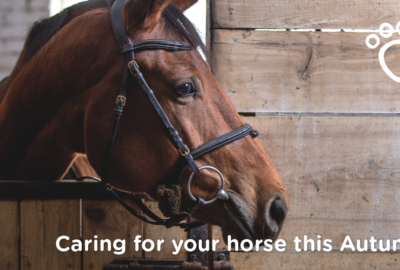
Caring for your horse this Autumn
Embracing Autumn: Stabling and Grooming Your Horse Autumn has arrived, bringing with it a palette of warm colours, crisp air, and the sound of leaves crunching. For equestrians, this season offers a unique opportunity to bond with their horses, as stabling and grooming become an essential part of daily care. In this blog post, we’ll…
Horse, Just for Fun, Product Features
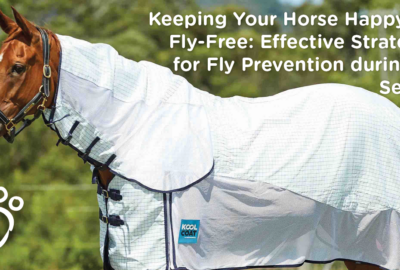
Keeping Your Horse Happy and Fly-Free: Effective Strategies for Fly Prevention during Fly Season
As a horse owner, protecting your horse from various pests, including flies, is important. Flies can cause discomfort, skin irritations and transmit diseases to your horse. Fly season is particularly challenging, as these tiny parasites thrive in warm weather. However, with proper preventive measures, you can keep your horses safe while also enjoying the gorgeous…
Horse
Winter Horse Feed & Nutrition
Horses’ eating habits can change or be slightly altered in winter. Their diet will need a little help to ensure balanced nutrition.
Horse
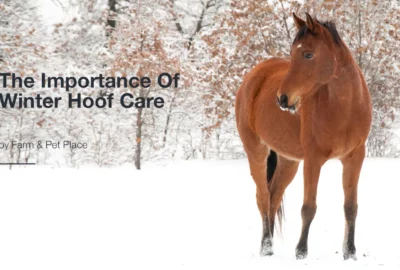
The Importance Of Winter Hoof Care
Horses in particular can find it difficult if they are not taken care of when the weather changes.
Cat, Dog, Horse, Small Pet
Halloween Safety Tips For Pet Parents
Halloween is now becoming increasingly popular within the UK, get your Halloween Safety Tips for Pet Parents here.
Leave a reply
You must be logged in to post a comment.